
Bicycle network signage and wayfinding guidelines
Wayfinding signage alerts people to the presence of cycling facilities and ensures they can navigate these facilities once they are on them. It is an essential component of bicycle networks.
The Queensland Government is committed to achieving the Queensland Cycling Strategy 2017-2027 vision of 'more cycling, more often', a key priority of which is building and connecting infrastructure to grow participation.
The following guidance supports practitioners to provide high-quality and consistent wayfinding signage for bicycle networks. This will help the growing number of Queenslanders riding make full use of the cycling infrastructure available.
On this page:
- Bicycle network signage benefits
- Process for signing bicycle networks
- Sign types
- Signage information and presentation
Bicycle network signage benefits
Directional signs allow riders to quickly and easily find their way around the network.
Signage can assist riders to make safer decisions by following established cycle routes.
Signage advertises the presence of the route to other road users.
Signage is important on complex routes that transition between on the road and off road.
Process for signing bicycle networks
Consider installing wayfinding signage on existing facilities, new facilities and where it may direct people riding to preferred routes, between or without facilities.
Following a standard process for developing and implementing direction signage schemes for cycling facilities ensures that users are given simple and consistent signage.
The two stages are planning and design, and installation.
Planning and design
| Task | Resources |
|---|---|
| Identify the route and all routes connecting to it Each cycling route can consist of many types of cycling facilities from on-road lanes and separated off-road cycleways within the road corridor, to low-traffic-volume local streets with little or no line marking or explicit cycling facilities. |
|
| Identify the destinations for the scheme from focal point maps A focal point map identifies destinations and decision points and coordinates signing across multiple routes. If destinations are not obvious, engage with stakeholders to identify the important destinations. |
|
| Identify any other named facilities, numbered routes or branded routes This additional information may also need to be presented on signs. |
|
| Conduct a pre-sign risk assessment and site audit of the route This assessment is to review the condition of the route and identify any critical safety issues. |
|
| Develop signage layouts for junctions The layouts will reflect the route types and should consider where graphical presentation is required. |
|
| Prepare a sign schedule This sign schedule should include:
To ensure that the signs are installed correctly, provide precise and specific details regarding sign content, location and placement. Maps should show precise locations of each sign, and diagrams/photos with installation guidance. Ground truth the sign schedule prior to manufacture and installation. |
|
| Prepare sign artwork for manufacture |
|
Installation
| Task | Resources |
|---|---|
| Manufacture and install the signage scheme Provide maps, aerial photos, photographs and standard sign offsets from facilities to the installation team. |
|
| Undertake post-construction review to check sign contents, directions and locations The signage scheme designer or planner should undertake a final inspection to confirm all signs are installed, correctly labelled, facing the right direction and directional arrows are correct. Any installation errors identified should be addressed at this stage. |
|
| Ongoing maintenance It is important that ongoing sign maintenance responsibilities are assigned and carried out. |
|
Sign types
The signs used on a route will depend on whether it is a veloway, principal, local or recreation route. Signs for veloways and principal routes may only be used on these routes.
However, local route signs may also be used on higher order routes where there is a junction with a local route. See Austroads Guide to Traffic Management Part 10, Appendix A, Section A.2 for types of signs.
Signs for veloways and principal routes

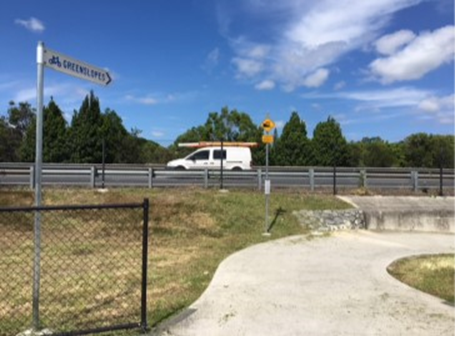
Fingerboard
- Use these at route junctions and where the path changes direction.
- Place these signs at route junctions.
- These signs can fit up to 2 focal points.

Direction Indication sign
- Use these signs instead of fingerboards if fingerboards are not suited to the site.
- Place these signs at route junctions.
- These signs can fit up to 2 focal points.

Advance Direction sign
- Use these signs to show focal points on routes passing through a junction.
- Place these signs at the approach to a junction.
- For veloways, 50–70m.
- For primary routes, 35–50m.

Reassurance Direction sign
- Use these signs following complex junctions to reassure bike riders they are on the right route.
- Place these signs on the departure side of more complex intersections.
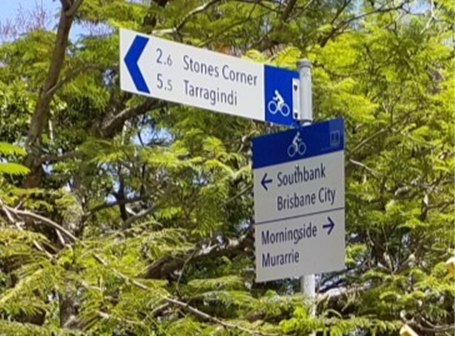
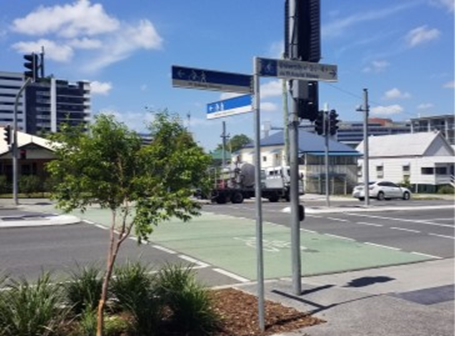
 Location sign

- Use these signs where paths track under or over the road network.
- Place these signs on underpasses or bridges.

Map sign
- These signs provide additional assistance and often indicate multiple route options and wayfinding possibilities.
- Use these signs at significant junctions of multiple routes and key entry points to the network.
- Place these signs 1.5m from the path or road at a safe, well-lit area with set-down space for bikes.
Signs for local routes

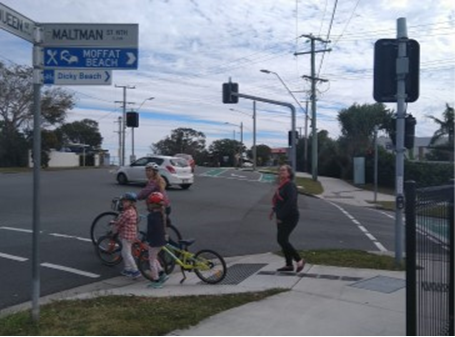
Fingerboard mounted with street name sign
- These signs indicate a single route or important local destination.
- They are mounted below street name signs and are placed at each end of a local route.

Local route marker—horizontal layout
- These signs provide reassurance to users between fingerboards, where a horizontal arrow facing users shows route direction.
- Use these signs where the route turns or changes between on-road and off-road.

Local route marker—vertical layout
- These signs provide reassurance to users between fingerboards, where a vertical arrow facing users shows route direction.
- Use these signs where the route transitions between on-road and off-road or on straight sections where reassurance may be required.

Facilities/services indication sign
- These signs indicate facilities such as water points, stations, information services.
- Use these signs at junctions of local and principal/veloway routes or in parklands and recreational areas.
Tourist and recreational routes

Fingerboard with external route branding
- These signs are used to sign a single tourist/recreational route.
- Use these signs at route junctions and where the path changes direction.

Tourist facilities fingerboard with local street sign
- These signs are used to sign facilities and points of interest including attractions, amenities, accommodation and tourist services.
- Use these signs at junctions where users can access facilities or locations with facilities.

Tourist/recreational route marker horizontal layout
- These signs provide reassurance to users between fingerboards, where a horizontal arrow facing users shows route direction.
- Use these signs where the route turns or changes between on-road and off-road.

Tourist/recreational route maker with vertical layout
- These signs provide reassurance to users between fingerboards, where a vertical arrow facing users shows route direction.
- Use these signs where the route transitions between on-road and off-road or on straight sections where reassurance may be required.

On-road training route marker
- These signs are placed on specially identified fitness and training routes for people riding bikes on-road
- Use these signs along the route.
Signage information and presentation
Focal points
Focal points are used to plan cycle route signage and are listed on signs within the bicycle network. A focal point is a destination where routes join, cross or end.
Follow these guidelines when listing focal points on signs:
- Maintain rigid consistency in naming locations.
- Street name signs should be in place at all network junctions, as they help riders reach their destination as quickly as possible.
- Once a focal point is listed on a sign, it continues to be listed on each similar sign along that route until the destination focal point is reached.
- Focal points closest to the sign are always listed to the top of the sign.
- When a destination focal point is reached, the next destination focal point is listed in its place on subsequent signs.
- Only focal points that occur on a route are listed on signs along that route. Advance direction signs are an exception to this rule, as they show focal points for all routes passing through the junction.
- Focal points take precedence over sub-destinations where space is limited on signs. Sub-destinations are used on longer routes with intermediate centres which are important ‘markers’ for people riding.
CBD and suburban focal points
For large metropolitan CBDs where routes do not intersect at a single junction, the city centre focal point is usually defined as a small area encompassing all route junctions.
If the focal point is a suburb without a strong centre or, if the cycle routes skirt around the service centre, it can be difficult to determine the location of the focal point.
There are 2 key issues to consider:
- When is the focal point reached?
If a route does not pass through the town centre of a suburb, the measurement point is usually the closest junction providing local route access to the centre or a logical destination point established through consultation with stakeholders. The focal point is measured to this junction.
- How is the signage scheme continued to a destination within a focal point suburb?
Where the focal point is not immediately obvious (for example a suburban junction), it is recommended that the signage scheme is continued to a more specific destination within that suburb by signing a local cycle route. In the example below, the principal cycle route identifies “Forestwood” as a focal point. Local route signage is then provided from the principal route to the “Forestwood shops”, along a cycle route on local streets.

Where to go for help about directional signage for wayfinding in Queensland
If you have questions relating to directional signage for wayfinding in Queensland, you can contact [email protected].
- Last updated
- 26 June 2026